I am excited to show you all the yummy Christmas goodies I've been working on! My husband's family loves to give away goodie treats to their neighbors, and if that's your kind of thing...here are some ideas to fill those up!
These truffles are very good and are eggless, so no worries about getting sick from eating raw cookie dough :)
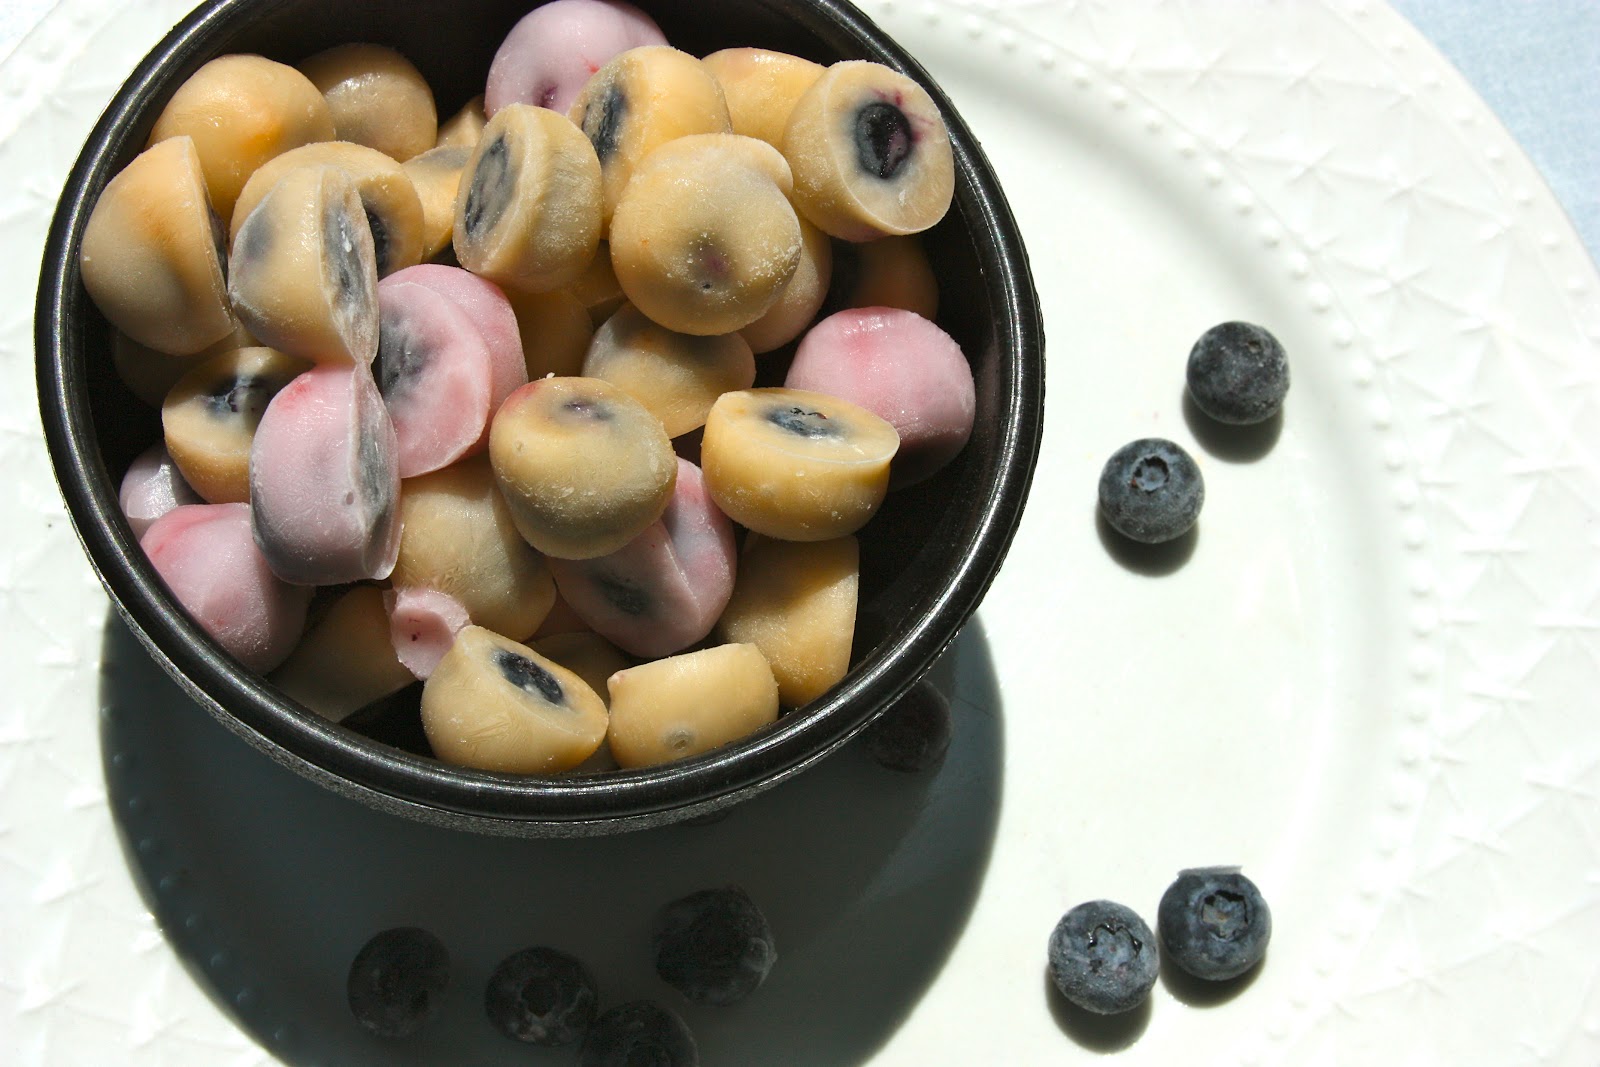
Cookie Dough Truffles
1/2 cup butter, softened
3/4 cup packed brown sugar
1 teaspoon vanilla extract
2 cups all-purpose flour
1 can (14 ounces) sweetened condensed milk
1/2 cup miniature semisweet chocolate chips
1/2 cup chopped walnuts
1-1/2 pounds dark chocolate candy coating, coarsely chopped
In a large bowl, cream the butter and brown sugar until light and fluffy. Beat in vanilla. Gradually add flour, alternately with milk, beating well after each addition. Stir in chocolate chips and walnuts.
Shape into 1-in. balls; place on waxed paper-lined baking sheets. Loosely cover and refrigerate for 1-2 hours or until firm.
In a microwave, melt candy coating; stir until smooth. Dip balls in coating; allow excess to drip off. Place on waxed paper-lined baking sheets. Refrigerate until firm, about 15 minutes. If desired, remelt remaining candy coating and drizzle over candies. Store in the refrigerator. Yield: 5-1/2 dozen.


 The boys love lunches that they are able to help put together. This one definitely was kiddo friendly!


